ClickUp is a project management and productivity tool that helps teams and individuals organize and track their work. It offers a wide range of features, including task management, time tracking, calendar integration, and collaboration tools. ClickUp is designed to be flexible and customizable, allowing users to adapt it to their specific workflows and needs. It is available on web and mobile, and offers integrations with a number of other tools and services. ClickUp is used by teams in a variety of industries, including software development, marketing, and design.
We built out answers to your most important questions with step by step how to guides for Clickup. We will keep adding. If you have requests, contact us.
How to Create a Document in Clickup
To create a document in Clickup, follow these steps:
Open Clickup and sign in to your account.
Navigate to the workspace where you want to create the document.
In the left-hand sidebar, click the “Add Task” button.
In the “Task Name” field, enter a name for your document.
In the “Description” field, you can enter any additional information or details about the document.
(Optional) You can also add details such as tags, assignees, and due dates to the document.
When you’re finished, click the “Add Task” button to create the document.
Once the document has been created, you can click on it to open it and start editing. Depending on your account settings and permissions, you may be able to edit the document directly in Clickup or you may need to use a separate program to edit the document and then upload it to Clickup.
How to Add Tables in a Document in Clickup
To add a table to a document in Clickup, follow these steps:
Open the document in Clickup.
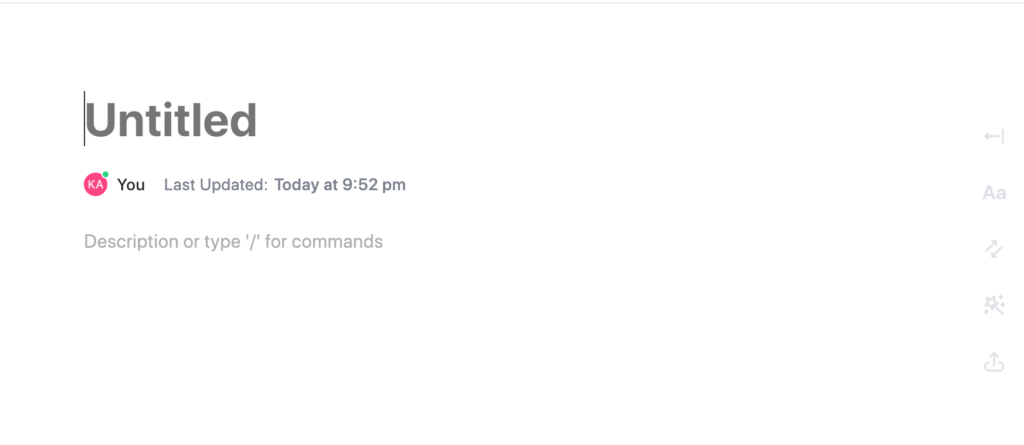
Place your cursor at the point in the document where you want to insert the table.
Click the “Table” icon in the formatting toolbar at the top of the document editor.
Or you can also type in “/table” and a small menu will appear asking if you want to include a new table.
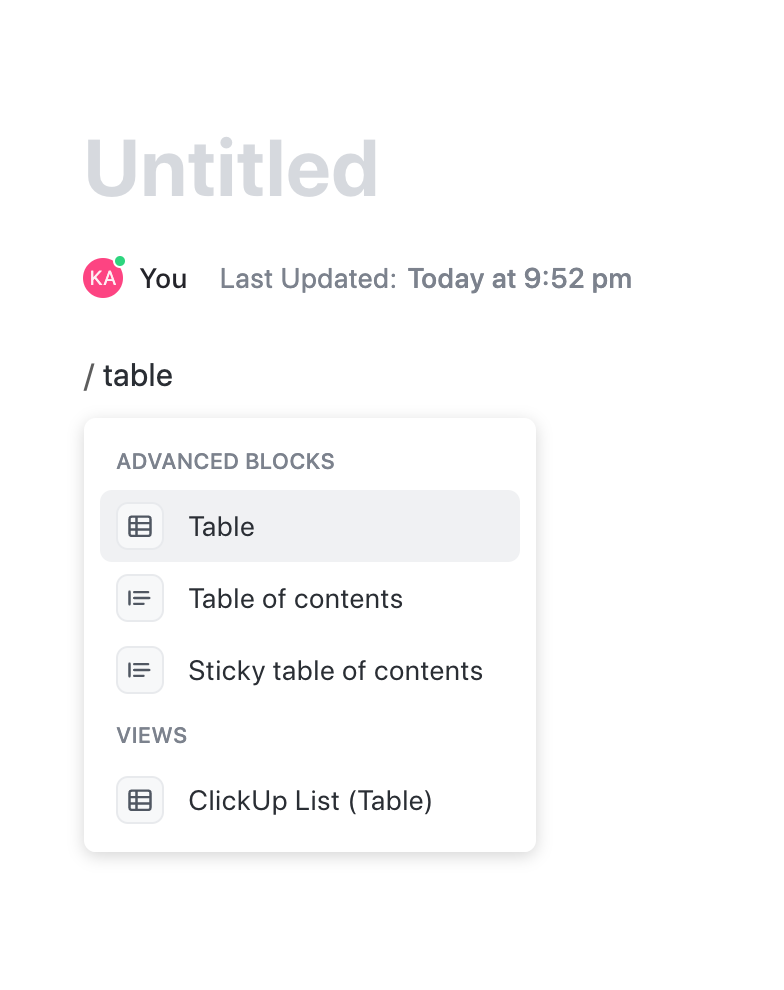
A grid will appear, allowing you to specify the number of rows and columns you want in your table. Click on the grid to create the table.
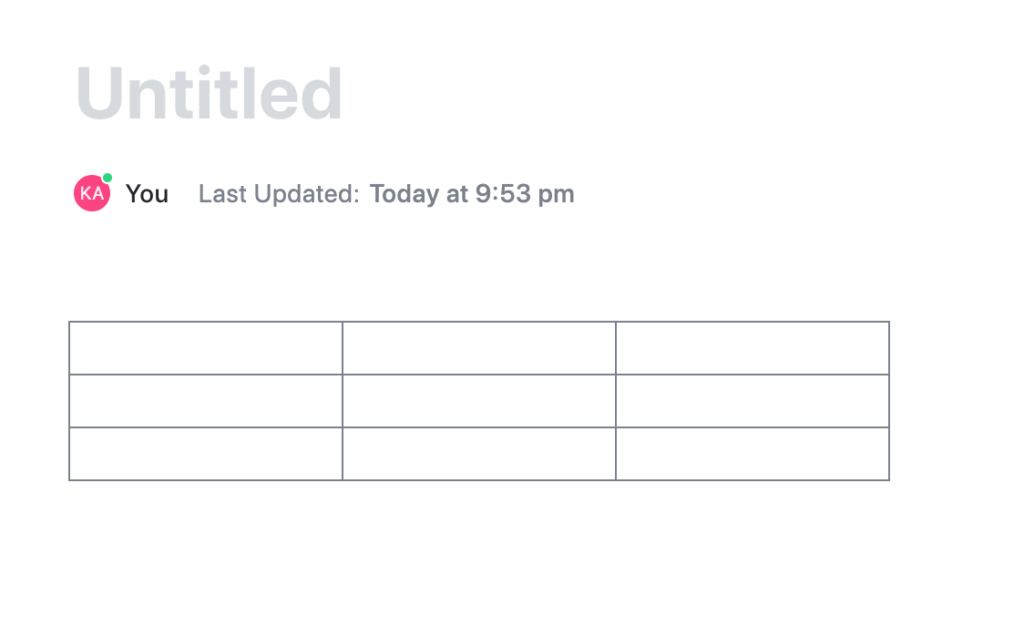
You can then add content to the table cells by clicking on them and typing in your text.
You can also customize the appearance of your table by using the options in the formatting toolbar, such as changing the font size and color, adding borders, and aligning text.
How to Share a Document in Clickup
To share a document in Clickup with other users, follow these steps:
Open the document in Clickup.
Click the “Share” icon in the top-right corner of the document editor.

In the “Share” dialog box, type in the email addresses of the users you want to share the document with.
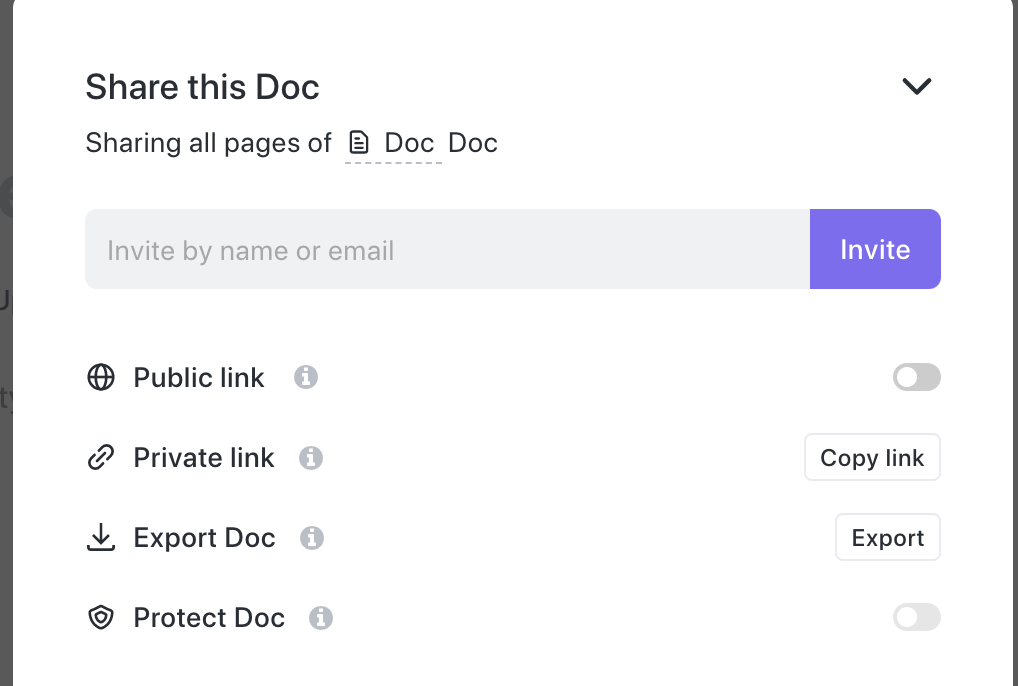
(Optional) You can also add a message or set specific permissions for the users you are sharing with (e.g., whether they can edit or only view the document).
Click the “Share” button to send the invitation to the users you specified.
The users you share the document with will receive an email notification with a link to the document. They will need to be signed in to their Clickup account to access the document.
How to Delete Your Clickup Account
To delete your ClickUp account, you will need to follow these steps:
Log in to your ClickUp account.
Click on your profile picture in the top right corner of the screen, and then click on “Account Settings” from the dropdown menu.
In the left sidebar, click on “Billing & Plan.”
Scroll down to the bottom of the page and click on the “Delete Account” button.
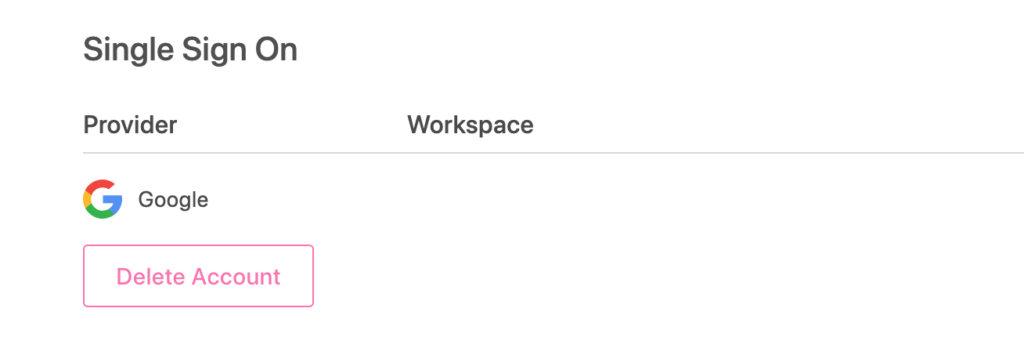
A pop-up window will appear asking you to confirm that you want to delete your account. Click “Delete Account” to confirm.
Your account will be deleted, and all of your data will be permanently erased. Please note that this action cannot be undone.
How to Screen Record on Clickup
To screen record on ClickUp, you will need to use a screen recording tool. There are many different screen recording tools available, both free and paid. Some popular options include:
QuickTime Player (comes pre-installed on Mac computers)
OBS Studio (free and open-source)
Snagit (paid)
Camtasia (paid)
To use QuickTime Player to screen record on ClickUp:
Open QuickTime Player on your computer.
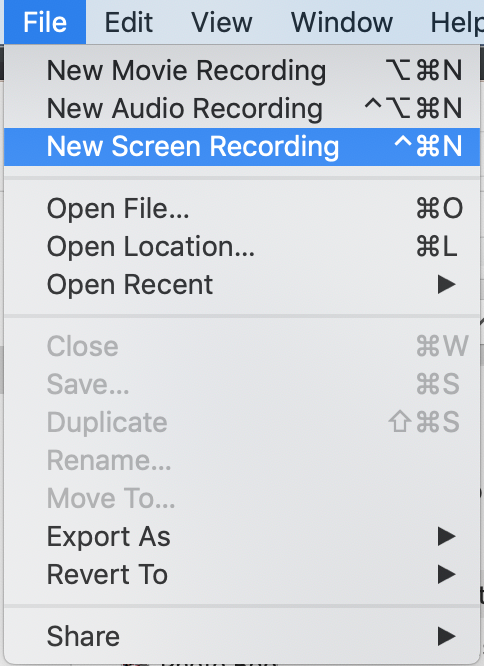
Click on “File” in the menu bar, and then click on “New Screen Recording.”
A screen recording window will appear. Click on the red record button to start the recording.
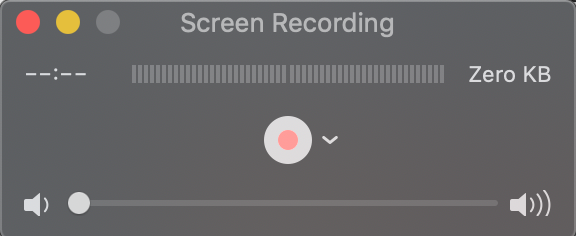
Use your mouse to select the area of the screen that you want to record. You can also click on the arrow next to the record button and select your microphone to record audio along with the screen recording.
When you are finished recording, click on the stop button in the menu bar.
Your screen recording will be saved to your computer. You can then upload it to ClickUp or share it with others as needed.
How to Track Time on Clickup
To track time on ClickUp, you will need to use the Time Tracker feature. Here’s how to use it:
Log in to your ClickUp account and open the task or project that you want to track time for.
In the top right corner of the task or project, click on the “Start Timer” button. This will start the timer for the task or project.

The timer will continue running until you stop it. To stop the timer, click on the “Stop Timer” button in the top right corner of the task or project.
The time that you tracked will be automatically added to the task or project. You can view the total tracked time by clicking on the “Time” tab in the task or project.
You can also add time manually by clicking on the “Add Time” button in the “Time” tab. This allows you to add time that you tracked outside of ClickUp, or to adjust the time tracked with the timer.
What are the best alternatives to Clickup?
There are several alternatives to ClickUp that you might want to consider. Some popular options include:
Trello: Trello is a project management tool that uses a Kanban-style board to help teams organize and track their work. It is known for its simplicity and flexibility, making it a good option for teams of all sizes.
Asana: Asana is a comprehensive project management platform that offers a wide range of features and integrations. It is a popular choice for teams looking for a more robust tool to manage their projects and tasks.
Monday.com: Monday.com is a project management tool that uses a customizable dashboard to help teams track and manage their work. It is known for its flexibility and strong collaboration features.
Basecamp: Basecamp is a project management and communication platform that helps teams stay organized and keep all of their work in one place. It is a good option for teams looking for a simple and straightforward tool.
Ultimately, the best alternative to ClickUp will depend on your specific needs and preferences. I recommend trying out a few different tools to see which one works best for your team.
How do I make a Group on Clickup?
To create a group in ClickUp, follow these steps:
Log in to your ClickUp account and click on the “Groups” tab in the left sidebar.
Click on the “Create Group” button in the top right corner of the screen.
In the pop-up window that appears, enter a name for your group and select the members that you want to add to the group. You can also specify a description for the group and set permissions for members.
Click on the “Create” button to create the group.
Your new group will now appear in the “Groups” tab, and you can use it to organize and manage tasks and projects within your ClickUp account.
More On Clickup
How to Delete Your ClickUp Account in 5 Simple Steps
The Power of Dashboards: How to Set Up a Dashboard on ClickUp
Why Do You Need Spaces on Clickup
Related
How to Login to your ClickUp Account
What is Clickup and Who Uses It?
How To Add a YouTube Video to a Document in Clickup
Pingback: What is Clickup and Who Uses It? - Digital Marketing CEO
Pingback: Does Clickup Work Offline? - Digital Marketing CEO
Pingback: How To Add a YouTube Video to a Document in Clickup -
Pingback: How Do You Add an Image to a Document in Clickup? -
Comments are closed.