Google recently announced some big improvements in using image extensions across all accounts. You can read it on Digital Marketing CEO here. Today we are going to talk about how to setup image extensions on Google Ads our way (with pictures).
Image extension setup in Google Ads is pretty easy. You just need a good step by step process on how to do it.
Watch this! We have some easy instructions and you can get started immediately.
Step by Step Guide to Setup Image Extensions
Step 1: Open your Google Ads account
Step 2: Find “Ads and Extensions” on the left sidebar
Step 3: Click “Extensions” underneath “Ads”
You will come to a page that looks like this.
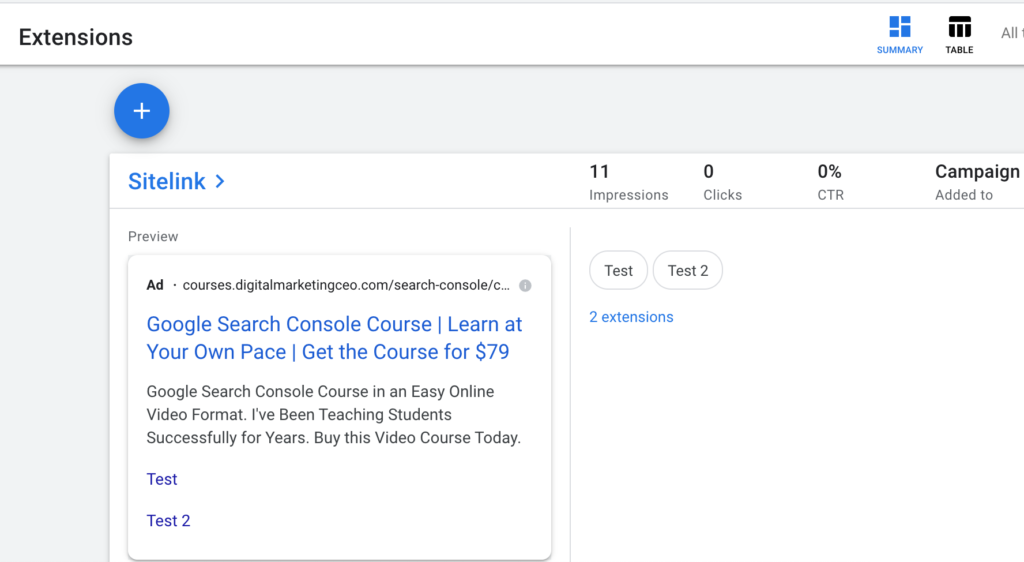
Step 4: Scroll down to where it shows “Image extensions”
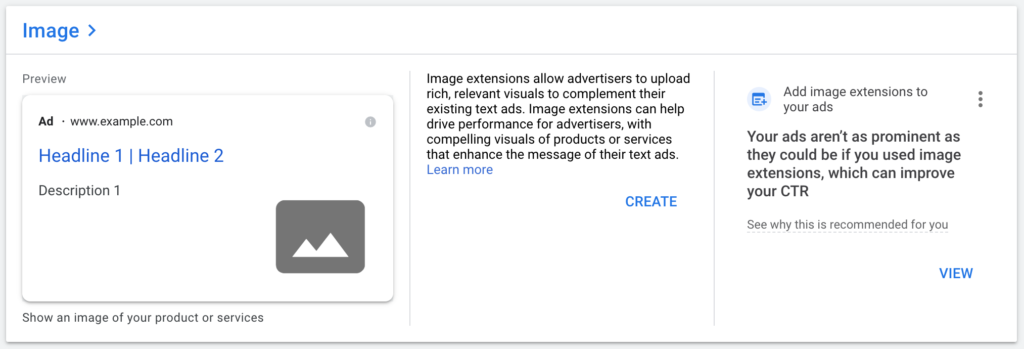
Step 5: Click “create” and choose the campaign you want your images to apply to.
Step 6: You will see “+images” (see below) and choose to either upload, scan website, stock photos
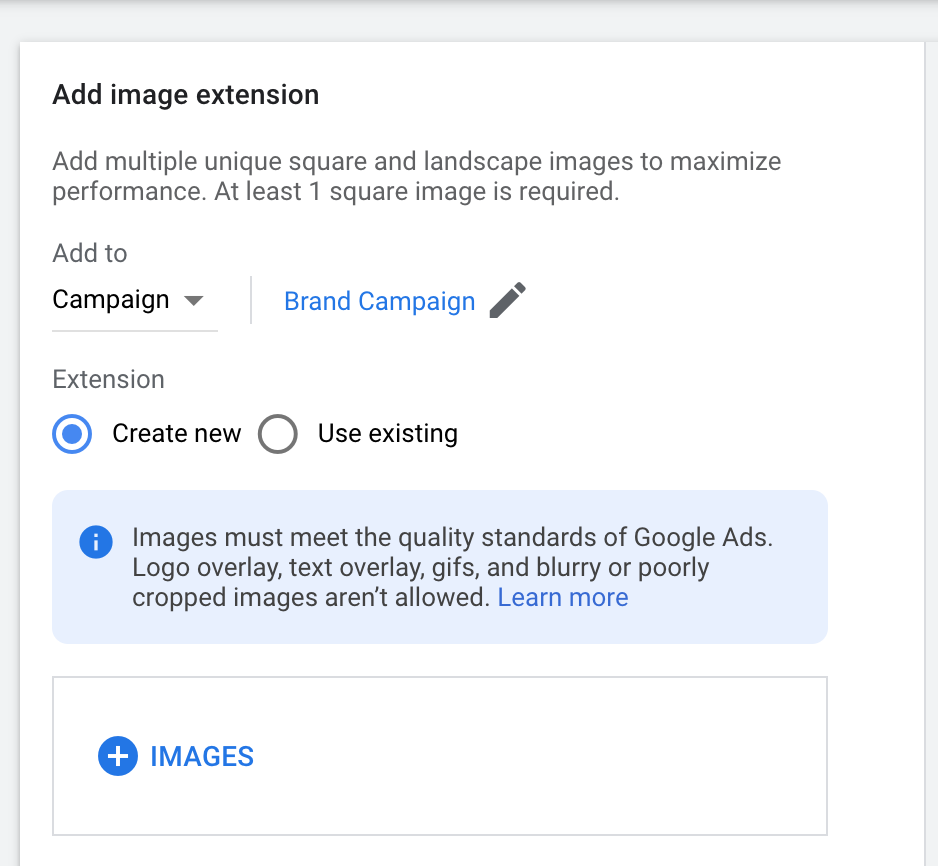
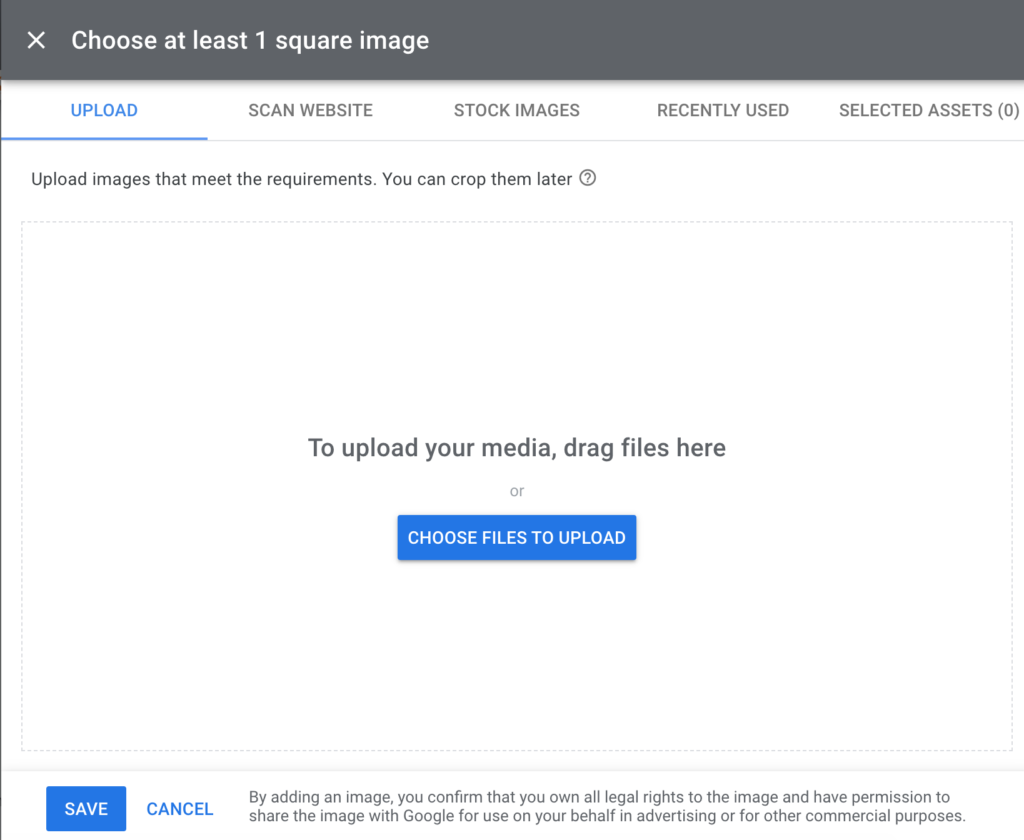
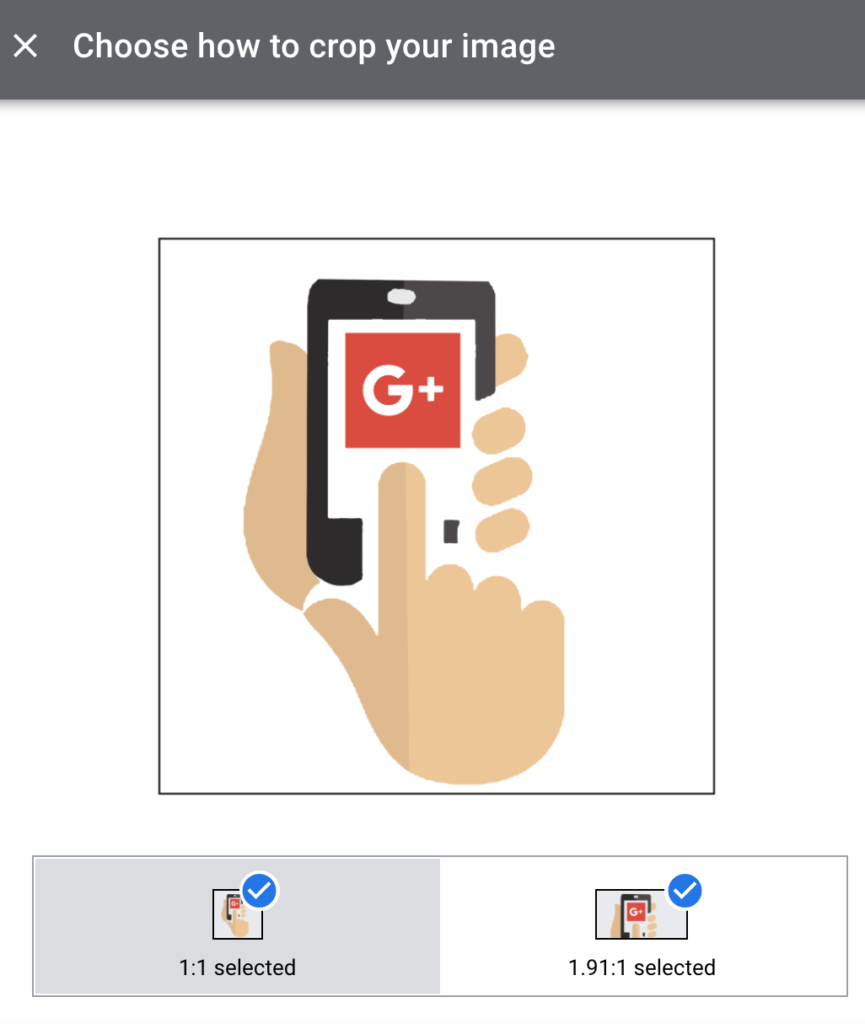
Step 7: Choose an image then click it once added into the system to crop for the two aspect ratios.
Step 8: Click “Save” at the bottom and you’re done.
Want to know the do’s and don’t’s of images for image extensions? Check out this resource.
Related
Google Announces Big Improvements for Image Extensions
Why Your Business Needs Google Search Console EBook
Can You Promote a Review Website with Google Ads?

Pingback: Google Announces Big Improvements for Image Extensions -
Comments are closed.