ClickUp’s spaces feature provides a powerful way to organize and manage multiple workspaces and projects within the platform. If you’re new to ClickUp or want to create a new space, this step-by-step guide will walk you through the process and help you get started on the right foot.
Step 1: Accessing the Space Creation Menu:
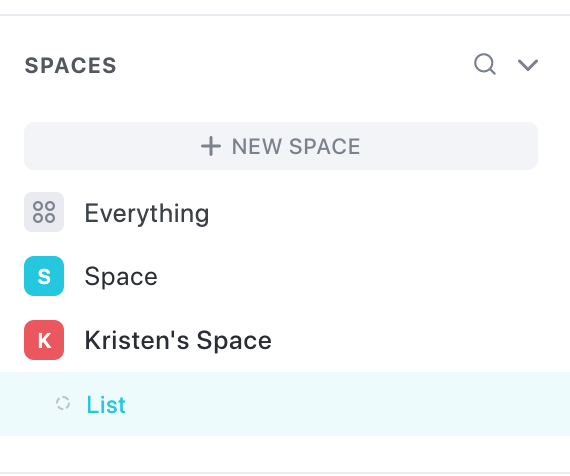
On the left sidebar of your ClickUp dashboard, locate the “+ New Space” button. This button serves as the entry point for creating a new space in ClickUp.
Step 2: Naming the Space:
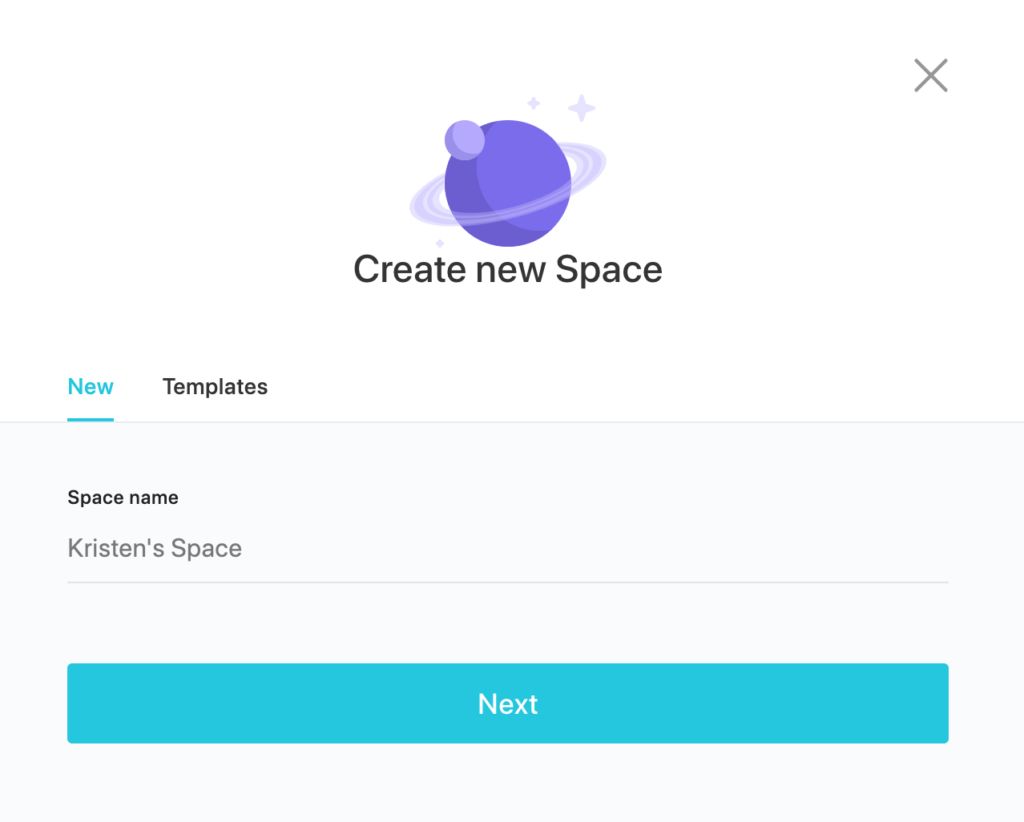
Click the “+ New Space” button, and a dialog box will appear. Give your space a name that accurately reflects its purpose or the projects it will contain. Once you’ve named the space, click “Next” to proceed.
Step 3: Choosing a Color and Icon:
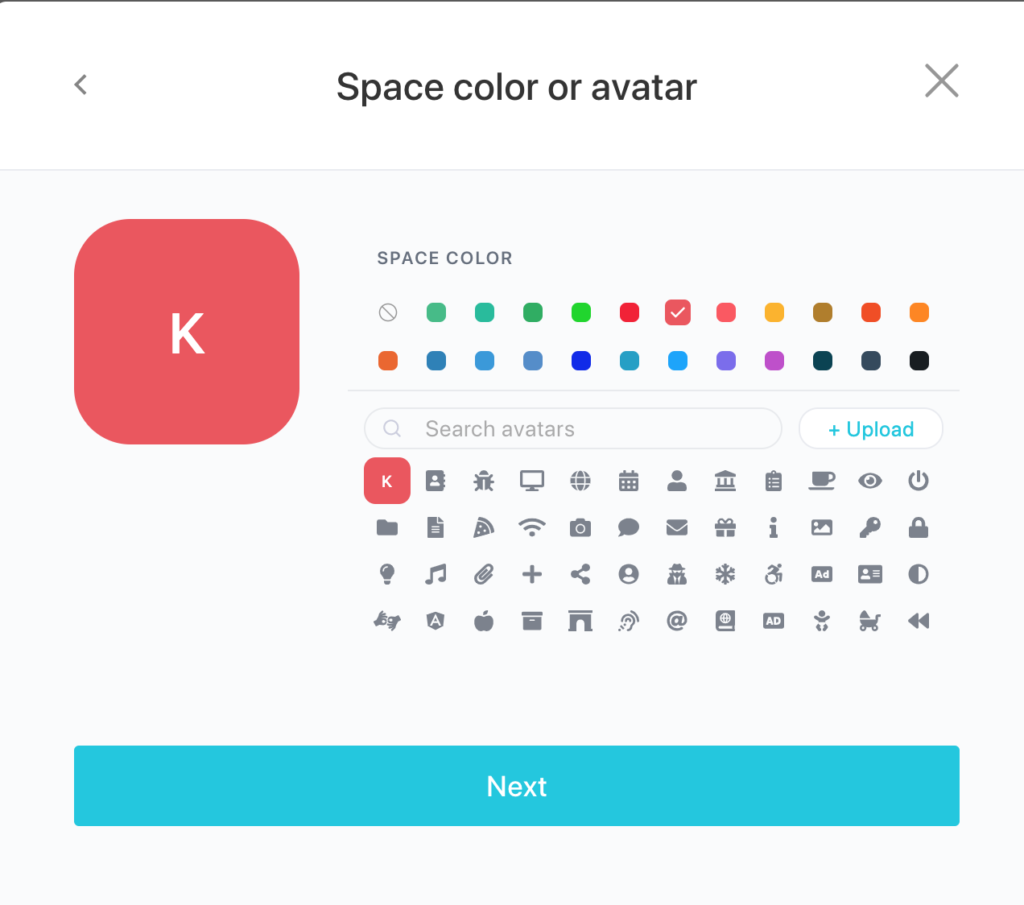
To personalize your space, select a color and an icon that represent its identity or theme. This visual distinction will make it easier to recognize the space at a glance. Once you’ve chosen a color and icon, click “Next” to move forward.
Step 4: Sharing the Space:
Decide whether you want to share the new space with others. ClickUp allows you to share spaces with specific individuals, teams, or entire organizations. Explore the sharing options presented to you, and once you’ve made your selection, click “Next.”
Step 5: Configuring Task Statuses:
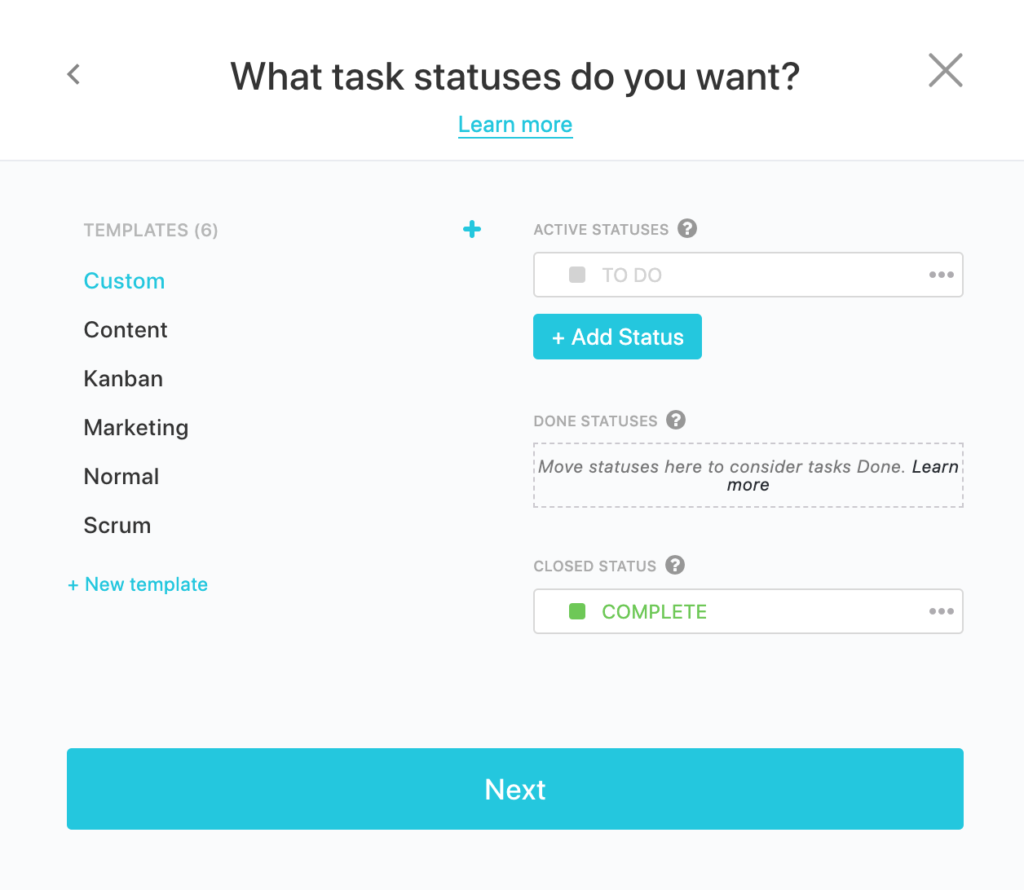
Customize the task statuses within your space. Determine which statuses should be considered active, done, or closed. Active statuses represent tasks that are in progress, while done statuses indicate completed tasks. Closed statuses can be displayed in a different color to signify completion. Adjust the settings according to your workflow preferences.
Step 6: Enabling Click Apps:
ClickUp offers various Click Apps that can enhance your space’s functionality. These include priority settings, sprints, email integrations, tags, custom fields, multiple assignees, time tracking, time estimates, subtask due date remapping, incomplete task warnings, work in progress limits, dependency warnings, rescheduling dependencies, and milestones. Choose the Click Apps that align with your project management needs.
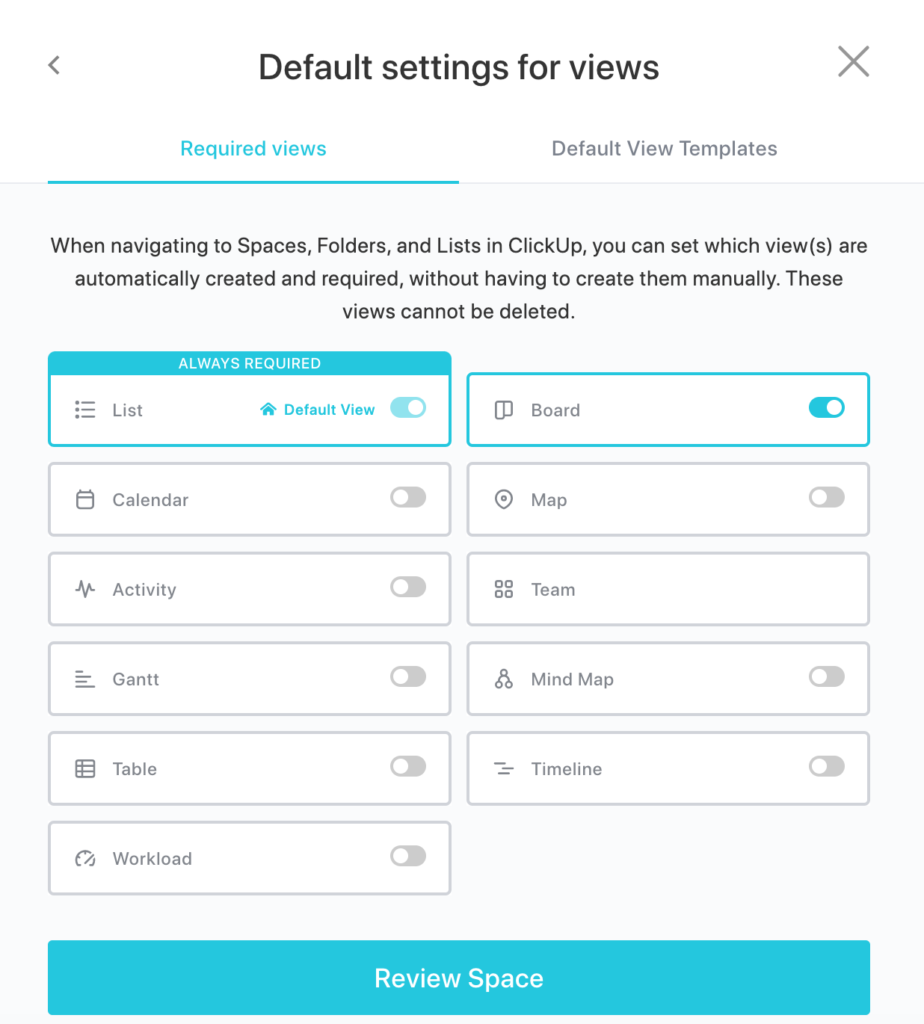
Step 7: Setting Default Views:
In ClickUp, you can define the default views for Spaces, Folders, and Lists. These views are automatically created and required, streamlining your navigation experience. Determine which views you want to be automatically generated and set as defaults, ensuring consistency across your space.
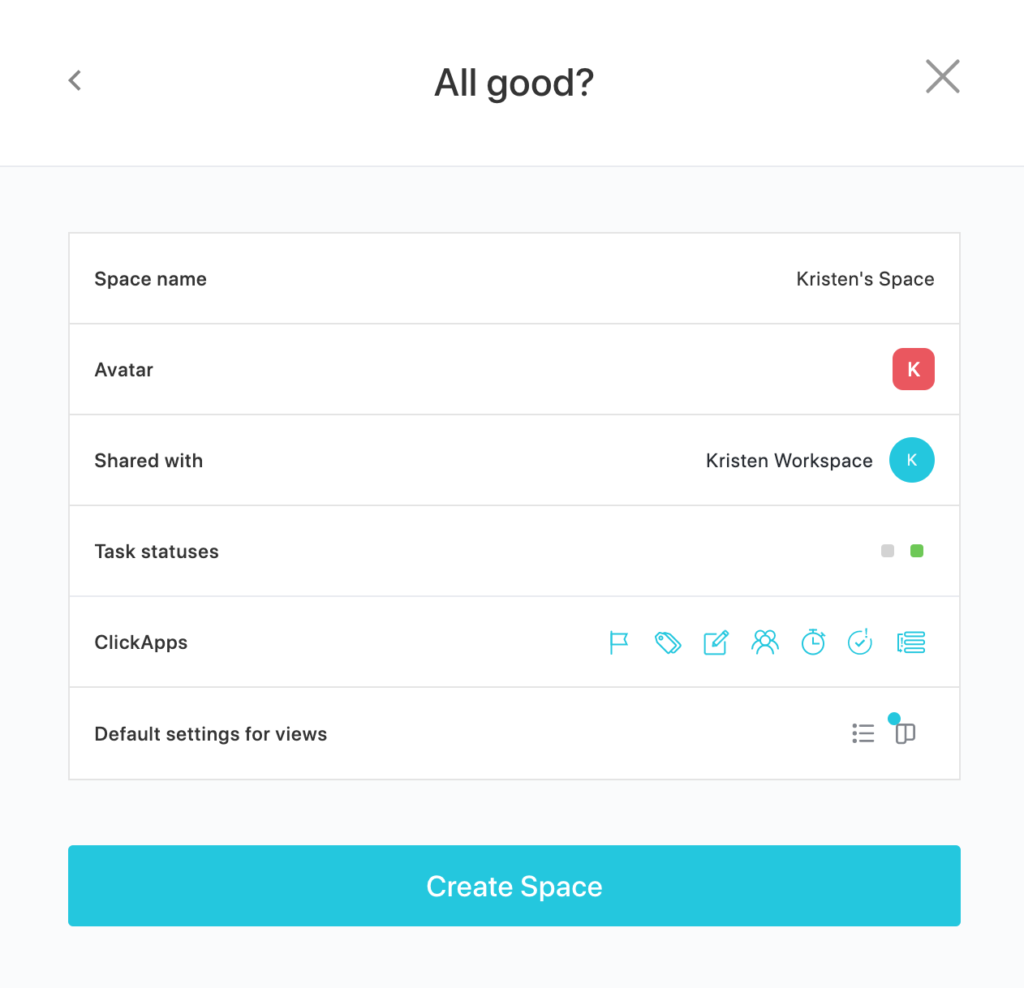
Step 8: Reviewing and Creating the Space:
Click “Review Space” to review your settings and configurations. Double-check that everything is accurately set up according to your preferences. Once you’re satisfied, click “Create Space” to finalize the process.
Setting up a space in ClickUp is a straightforward process that empowers you to organize and manage your projects effectively. By following the step-by-step guide provided above, you can create a new space, customize its settings, and optimize your project management experience within ClickUp. With your new space successfully created, you’ll find it conveniently located on the left sidebar under the “Everything” section. Embrace the power of ClickUp spaces to streamline your workflows, enhance collaboration, and stay organized as you navigate your projects and workspaces.
Related
Clickup Task vs. Folder vs. List
How to Add an Attachment in Clickup Tasks?
Pingback: ClickUp 3.0: Redefining Productivity with an Array of Exciting Updates - Digital Marketing CEO
Comments are closed.