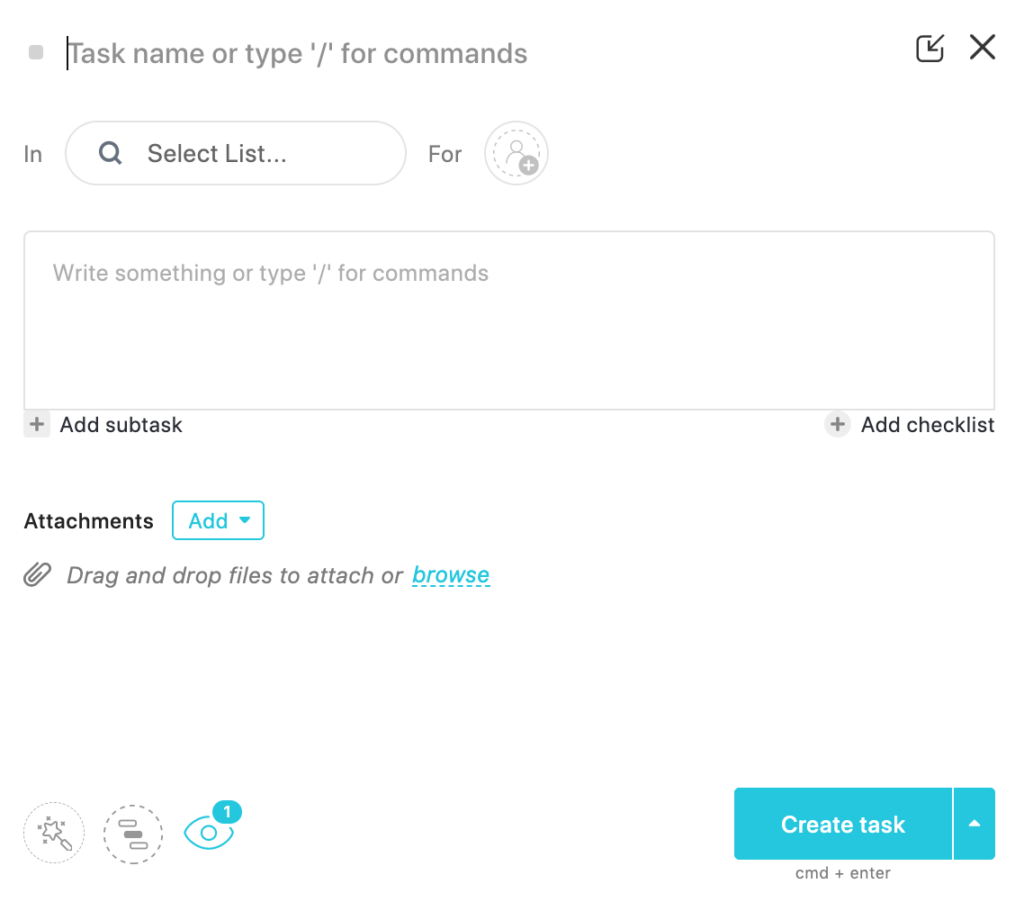
If you are setting up tasks on Clickup for your team, or even for yourself, you always want to be sure to provide enough information. This way, the person receiving the task will be better prepared to handle and complete the task. Another helpful addition to tasks is to include attachments. This way if you have more information in a PDF or creative assets as JPEGs, you can add it in. It will be important to know how to add an attachment in Clickup tasks.
As businesses shift towards remote work, project management tools like Clickup are becoming increasingly popular. Clickup is a cloud-based project management tool that allows teams to manage tasks, projects, and workflows. One of the key features of Clickup is the ability to add attachments to tasks. In this article, we’ll take a closer look at how to add an attachment to a task in Clickup.
How to Add an Attachment in Clickup
To add an attachment to a task in Clickup, follow these simple steps. First, navigate to the task that you want to add an attachment to. Once you’ve located the task, click on the paperclip icon in the task’s toolbar. This will bring up a dialog box that allows you to choose the attachment you want to add.

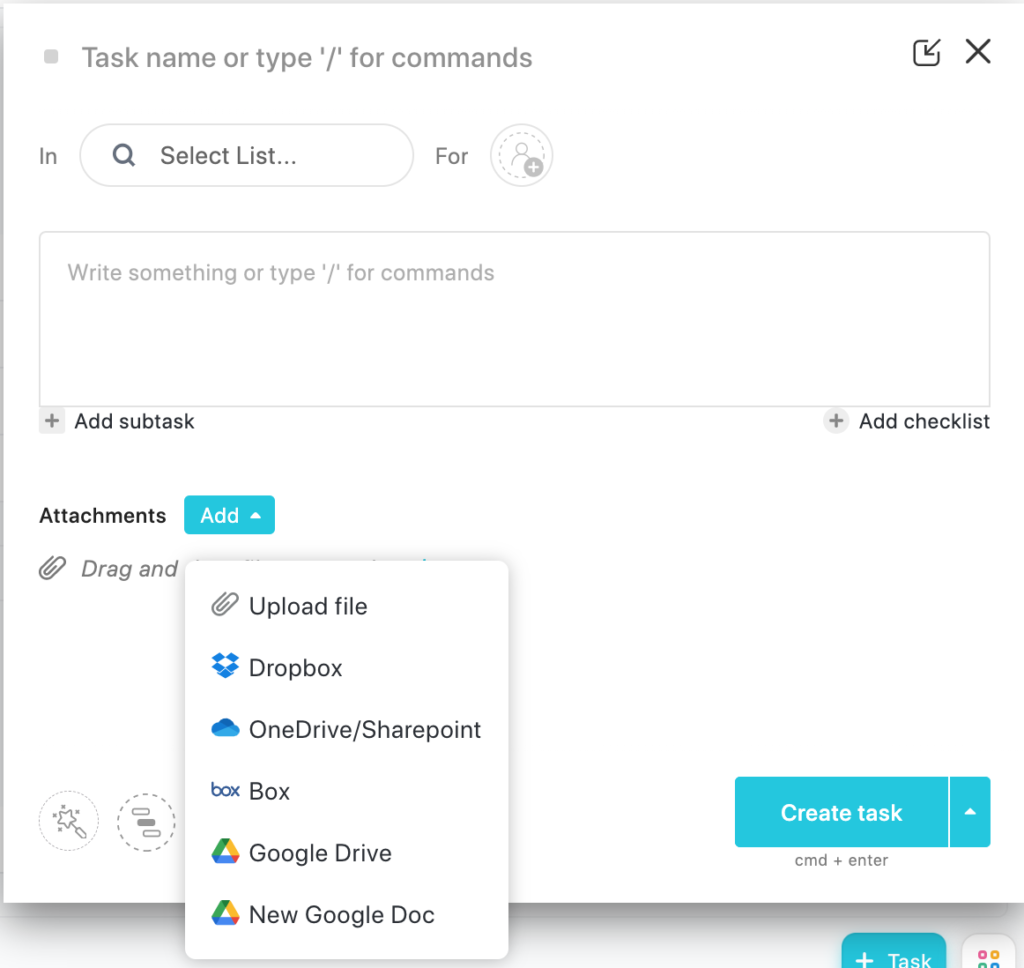
Clickup allows you to add a variety of attachments to your tasks, including documents, images, and videos. To add an attachment, simply click on the “Choose File” button in the dialog box and select the file you want to attach. You can also add attachments from your Google Drive, Dropbox, or OneDrive accounts by clicking on the appropriate icon.

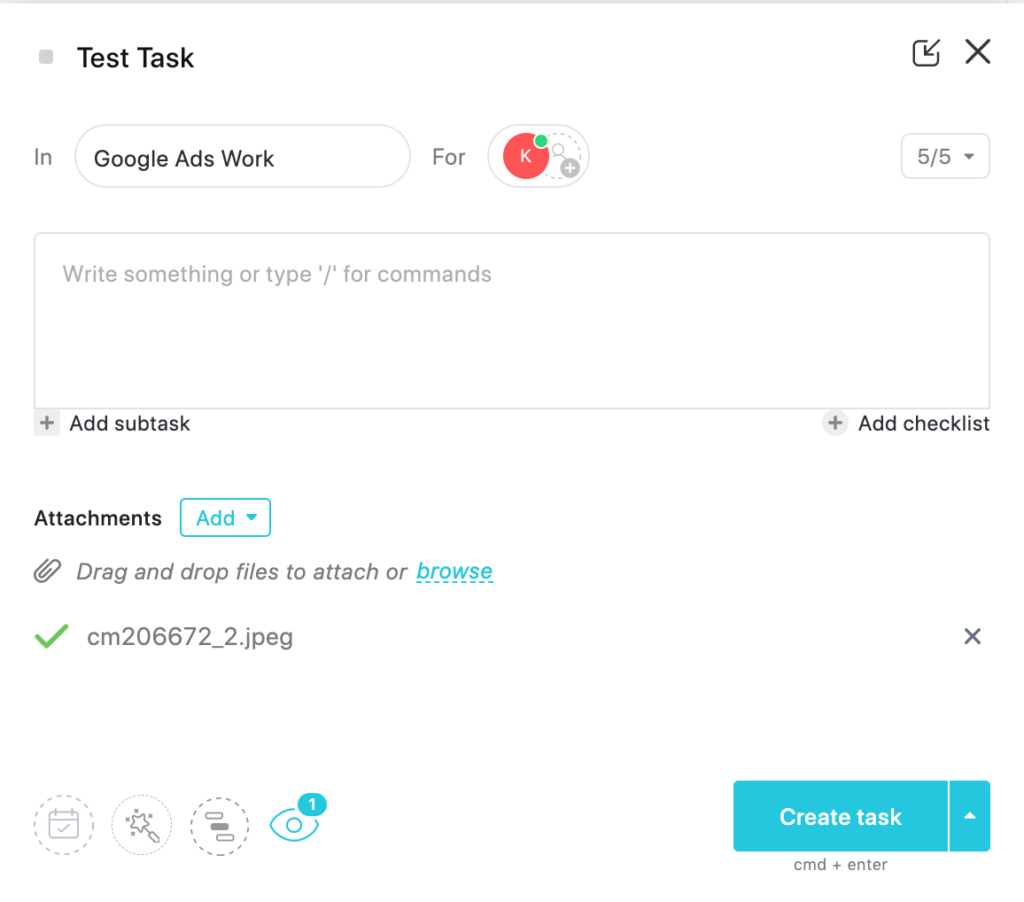
Once you’ve selected your attachment, Clickup will provide a preview of the file. This allows you to confirm that you’ve attached the correct file before saving it to the task. If you’re happy with the attachment, click the “Save” button to attach it to the task.

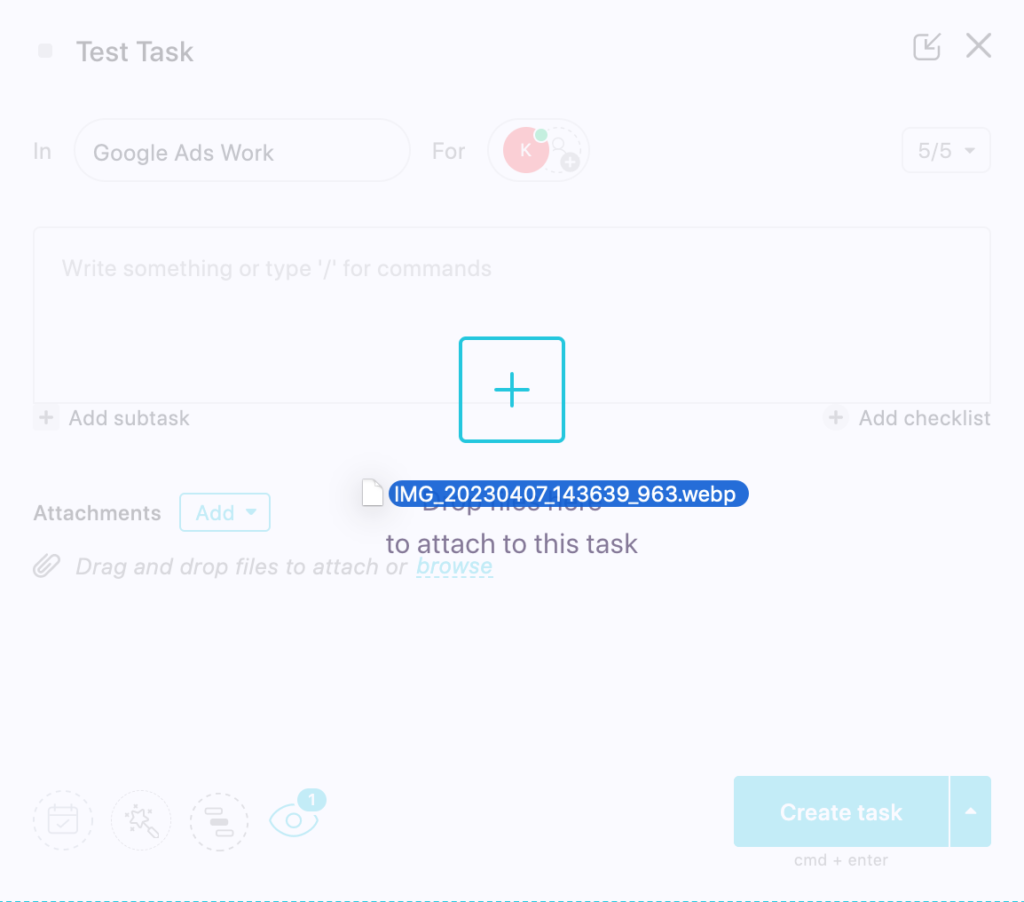
Here are a few tips and tricks to keep in mind when attaching files in Clickup. First, use drag and drop to quickly attach files to tasks. Simply drag the file from your desktop or file explorer window and drop it onto the task in Clickup. This is a great time-saver, especially when you’re attaching multiple files to a task.

Second, utilize the comments section to add context to your attachments. This is especially useful if you’re working with a team, as it allows everyone to understand why a particular attachment is important. For example, you might leave a comment explaining that a document contains key information needed for a particular task.
Third, use Clickup’s sorting and filtering features to organize your attachments. Clickup allows you to sort tasks by due date, priority, and more, making it easy to find the attachments you need. You can also use Clickup’s filtering features to narrow down your search and quickly find the attachments you need.
In conclusion, adding attachments to tasks in Clickup is a simple process that can save you time and help you stay organized. Whether you’re attaching documents, images, or videos, Clickup makes it easy to add and manage your attachments. By using drag and drop, utilizing the comments section, and taking advantage of Clickup’s sorting and filtering features, you can make the most of this powerful tool and streamline your workflow.
Related
Task Management Showdown: ClickUp vs Todoist – Which One Wins?
How Do You Add an Image to a Document in Clickup?
Pingback: How to Add a Cover Image to a Document in Clickup
Comments are closed.